Do you want to remove that "Lady Popular" logo from your gallery photos? Here's an easy how-to guide to help you learn the tricks. We are using the free online-editor called PIXLR. I suggest you create an account for free so you can store your images there for future use, but it is not necesary to use the editor. You can also use these techniques in most other image editors.


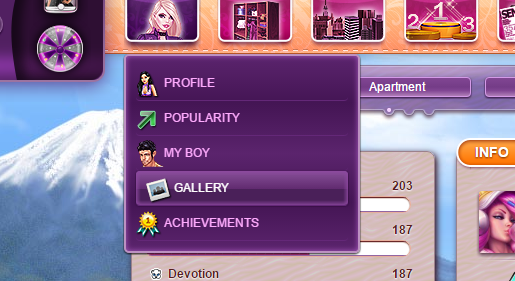
Take a photo of your Lady using the in-game camera. Go to your gallery and locate the photo of the outfit.


Left-click the photo of the outfit you want to remove the LP logo from.


You will see your photo and some links underneath. You want to select the first link and open that in your browser window.


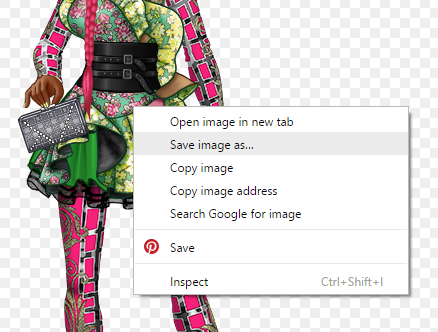
Right-click your lady and "save image as....", name your file, remember where you saved her on your computer so you can locate your file later in your editor page.


Go to PIXLR editor and select "open image from computer". Locate the file on your computer


Your lady will appear in your editor window. Find the erase tool, located on the left side in your "toolbox".
Click the eraser icon or use the letter "E" on your keyboard as a shortcut.

Use the erase tool by dragging your mouse over the Lady Popular logo until it completely disappears.


To remove all the excess blank space around your lady you will want to "crop" the image using the crop tool in your tool box on the left, or pressing "c" on your keyboard as a shortcut.


Drag your cropping square from the top left, diagonally across to the bottom right of your lady. Make sure you do not cut off any of her body. The square should be around her but not touching her at all.


When you let go of your mouse there will be white square outlines and little blue boxes in the corners around your image. You can use the corners to make your cropping box larger or smaller if needed by dragging these blue boxes diagonally in or out. Once you have the correct area boxed in, click the crop tool icon again or press "c" again.


You will see a confirmation box appear. Click "yes" to crop.


Your transparency square should crop down to the size you desired. If something went wrong or you made a mistake, you can select the "undo" option in your Edit Menu above and start over. The undo button will undo your last action step.


Next you will want to save your edited image. Go to your top File Menu and select "save" from your drop-down menu.


Choose a new name, or keep your old one. Make sure the file format is PNG or you will get a white background around your image and she will no longer be a transparency. Click "ok".


Here is the final result when used in an application like Picmix. You have just your lady, no background, no logo! YAYYYY!
HAPPY CREATING!
